When I started my little apparel company at university, I had to teach myself about the different ways to print a T-shirt. Getting a design onto fabric sounds simple enough, but the method you choose makes a big difference to the detail, feel, and quality of the finished shirt.
The four methods I learned about were iron-on transfers, vinyl heat press, screen printing, and direct-to-garment printing. Each has its place, whether you're making a one-off shirt for a concert or printing a design to sell.
Here's how they work, what I like and dislike about each, and how I'd choose between them.
1. Iron-on Transfers: Easy and Cheap for Occasional Wear
Iron-on transfers are the easiest of the bunch. You print your design onto special transfer paper using a home printer, place it onto your T-shirt, and apply heat with an iron. When you peel away the backing, the design stays attached to the fabric on an adhesive layer.
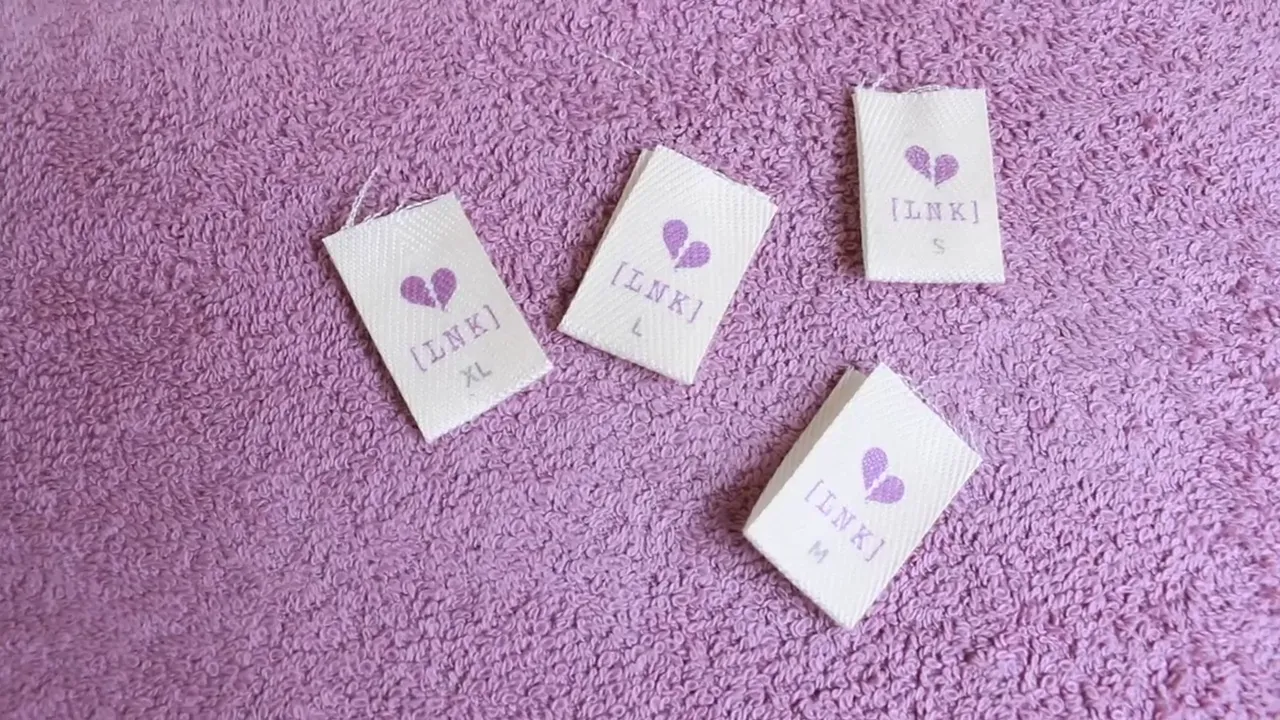
I've also used this technique to make custom labels for the inside of my T-shirts. It's a pretty accessible way to put a small printed design onto fabric without investing in specialist machinery.
The advantages
- Easy to do at home: You use a home printer, transfer paper, and an iron.
- Relatively inexpensive: There isn't a big equipment investment.
- Useful for one-off projects: You can make a single shirt without setting up a production process.
The drawbacks
The design is essentially a flat layer stuck on top of the shirt. Over time, that layer can crack, peel, and flake at the edges. It's not the finish I'd choose for a shirt I wanted to wear regularly for a long time.
Sharpness can be disappointing too. Between the quality of a home printer and the transfer layer itself, the design can end up looking a wee bit fuzzy, almost like it has a soft-focus finish.
My recommendation: Keep iron-on transfers for personal designs you'll only wear a couple of times. I've made shirts to wear to concerts this way, but I wouldn't recommend it for professional T-shirt production.
2. Vinyl Heat Press: Crisp Designs With a Separate-Layer Feel
Vinyl heat press printing starts with a sheet of colored vinyl. A cutting machine cuts out your design, the excess material is peeled away, and a heat press bonds the remaining vinyl to the shirt.
I used this method for my apparel company before I learned how to screen print. For a one-off shirt, I found the quality much better than an iron-on transfer.
The advantages
Vinyl gives you clean edges and sharp lines. If your design works well as a simple, flat-color graphic, you can get a really tidy result.
It's also a good option when you only need one shirt rather than multiple copies of the same design.
The drawbacks
Fine detail is where things get tricky. Every unwanted bit of vinyl has to be removed after cutting, so tiny shapes can be fiddly and time-consuming. Small details can also be lost if the cutter can't reproduce them accurately enough. The first time I used this method, I had to adjust my artwork to make it printable.
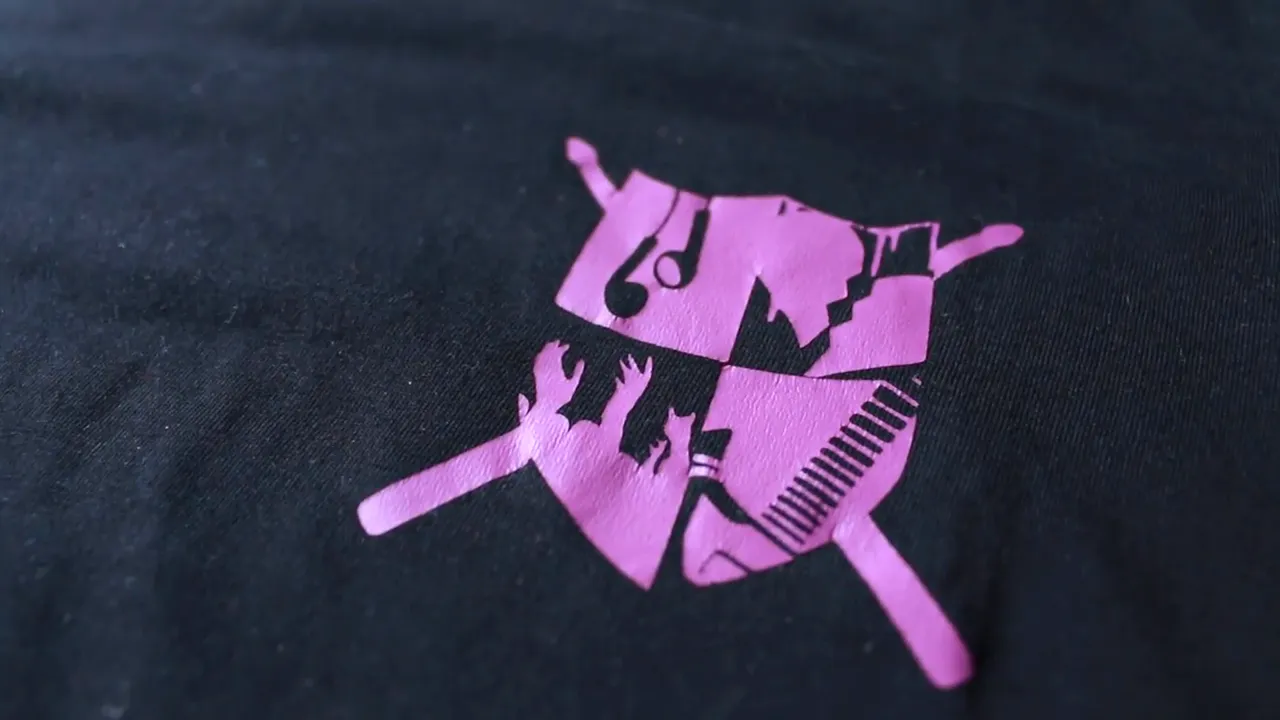
My main dislike is the feel. You can tell there's a separate, shiny layer sitting on the shirt. With the vinyl I've used, the fabric stretches more readily than the graphic, which can lead to puckering and sometimes peeling at the edges as the shirt wears.
There's also the equipment cost. A vinyl cutter is a significant purchase, so having a print shop do it is generally the more practical route if you're only making occasional shirts.
My recommendation: Choose vinyl heat press for a simple one-off design when you want a sharper, better-quality result than a home iron-on transfer and don't mind the feel of vinyl.
3. Screen Printing: My Favorite for Repeat Designs
Screen printing, also called silkscreening, is definitely my favorite T-shirt printing method. It's what I moved to for my own shirts.
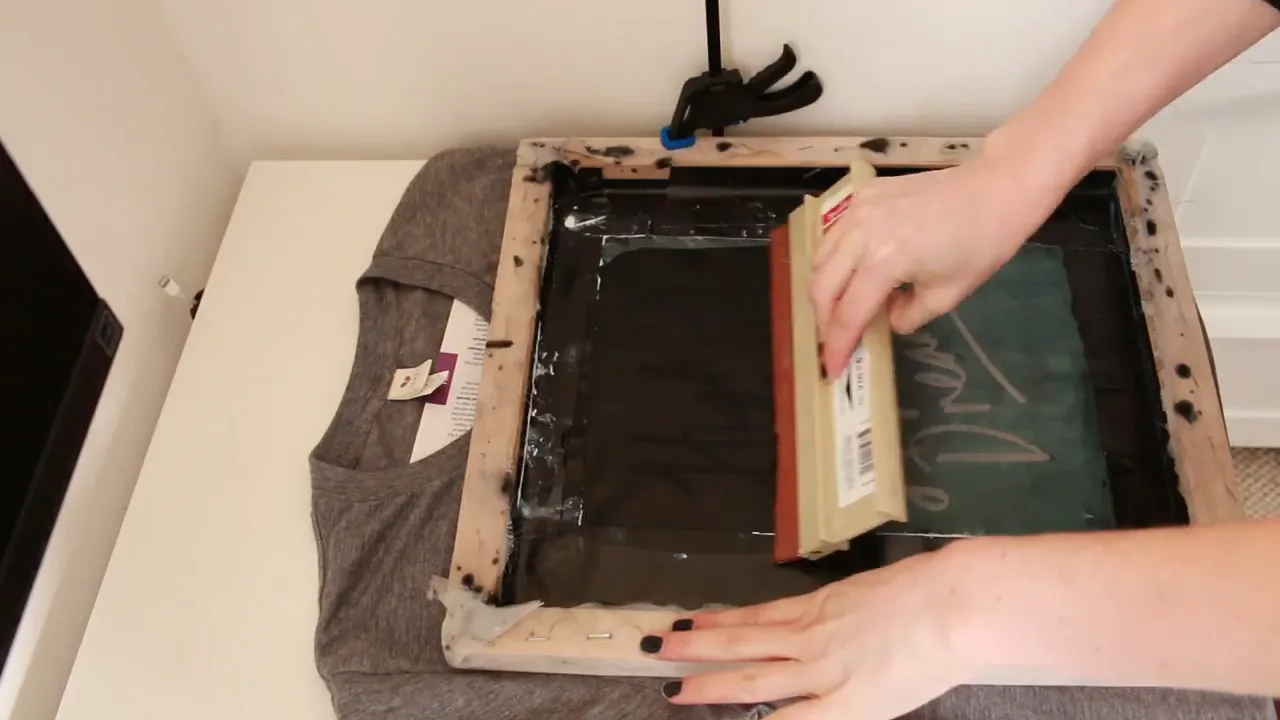
A screen holds a stencil of your design. You pull ink across it with a squeegee, pushing the ink through the open areas of the mesh and onto the T-shirt beneath. The blocked areas keep the rest of the fabric clear. If you're curious about the wider process, this overview of screen printing explains the stencil-and-mesh technique in more detail.
The advantages
What I love most is the soft finish I get with my screen-printed shirts. Rather than feeling like a separate sheet attached to the surface, the print feels much more like part of the fabric.
You can also reproduce finer detail than you can with cut vinyl. That makes it a lovely option for designs with more intricate lines or lettering.
The reusable screen is a big advantage for repeat printing. Once you've made a screen for a design, you can use it again and again. Some of mine had already been in use for more than three years.
The drawbacks
You do need to think carefully about color. Each separate ink color requires its own screen and printing pass. A four-color design means preparing and aligning four separate prints, which adds work and expense.
That setup is why screen printing makes the most sense when you want multiple copies of the same design, rather than a single shirt.
You can print at home, as I do, or work with a professional screen-printing company. If you're interested in the DIY route, I've put together my screen-printing guide, along with the tools and equipment I use.
My recommendation: Screen printing would be my first choice for repeated designs with a manageable number of colors, especially for shirts you intend to sell. I really like the quality and feel it gives my own products.
4. Direct-to-Garment Printing: Freedom With Color and Shading
Direct-to-garment printing, or DTG, does pretty much what the name suggests: a specialist printer prints your design directly onto the shirt.
The big difference is the freedom it gives you with artwork. You don't have to turn every color into a separate screen or a separate piece of vinyl.
The advantages
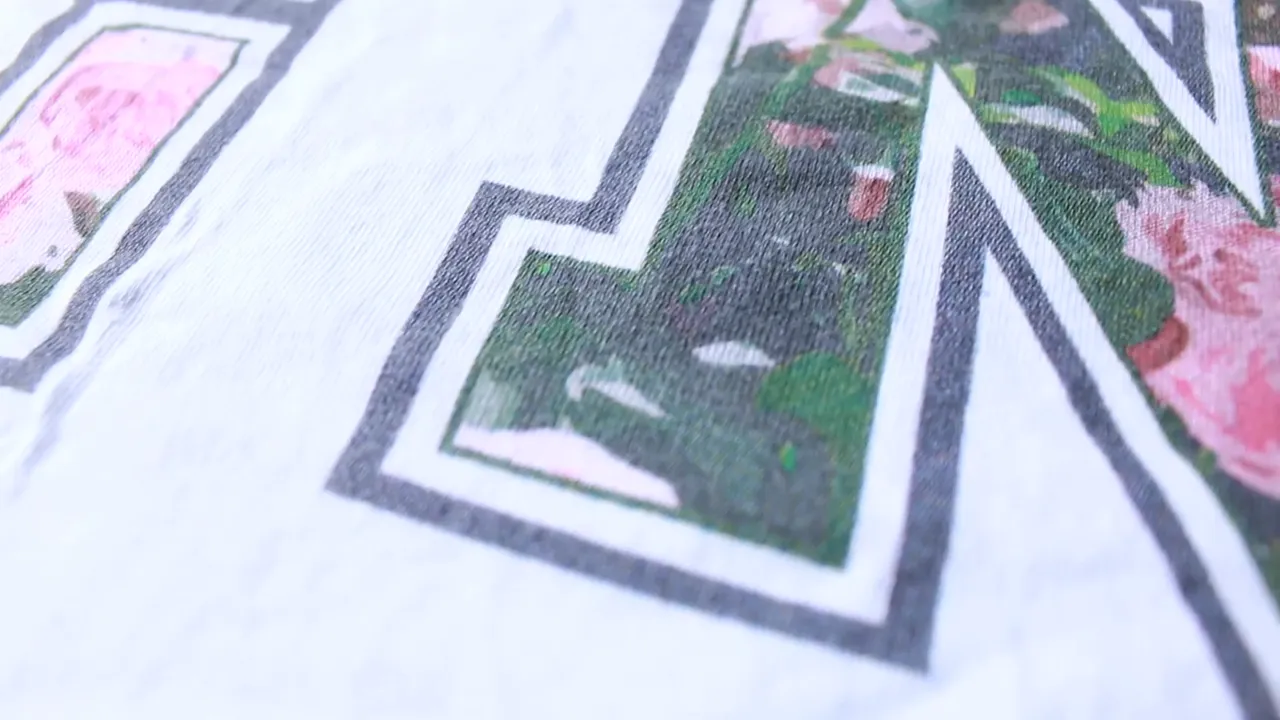
DTG lets you work with lots of colors, gradients, and shading without separating them into individual physical printing layers. The floral band shirt shown here is the sort of detailed, multicolored design that illustrates that freedom.
For a batch of shirts featuring artwork with lots of color variation, it's a method worth considering.
The drawbacks
The specialist printing machines are very expensive. This isn't a method I'd suggest buying equipment for just to make your own shirts. A company that specializes in direct-to-garment printing is the practical option.
My recommendation: Consider DTG when color and shading are central to your design and you want a professional printer to reproduce them without setting up a separate screen for every color.
Which T-shirt Printing Method Should You Choose?
I'd start with what you're making, rather than picking a technique first:
- A cheap shirt for one event: An iron-on transfer is the simplest option if longevity isn't a priority.
- A crisp, simple one-off graphic: Vinyl heat press is a step up, provided you're happy with the surface feel.
- Multiple copies of a design with fewer colors: Screen printing is my favorite, particularly for an apparel line.
- Detailed artwork with lots of colors or shading: Direct-to-garment printing gives you more freedom without separate screens.
For me, moving from vinyl to screen printing made sense because I was repeatedly printing my own designs and wanted a softer finish. Your choice might be different. The important thing is knowing what each process can do before you commit your artwork or your budget.
If you'd like to support my little apparel company, you can explore the T-shirts at Liner Note Kids. My brush-script “High-def Hopes and Dreams” design is a particular favorite.


